Working with Participants Description Data
This feature of the Community Check Box (CCB) allows you to track specific demographic or geographic data at an aggregate level, not an individual level, about the people being served by your program. It can be related to any Accomplishment you have entered into the CCB. For example, if you create an entry about a session you held as part of a program, coded as Service Provided, you could use the Participants Description (PD) feature to track the specific numerical data related to demographics (e.g., age, race or ethnicity, gender) or geographic location (e.g., Zip Code, city, county) for that session.
Note: Before you can add Participants Description data to your Accomplishment entries, you must have a Site Owner/Administrator set up your PD Data form: the type (e.g., Demographic, Geographic), then categories (e.g., Age, Race, Gender), then the options for each (e.g., 0-17, 18-35, 30-55 for age; or White, Black, Asian American and Pacific Islander for race). Your group/initiative determines and customizes the form.
Add Participants Description (PD) Data
- Click on the View Data button and select an existing Accomplishment you wish to edit from the list.
- Note: if you're creating the Accomplishment first, you must hit Save at the bottom before you can add PD data to it. This creates a unique ID for the entry and allows you to stay on the same page so you can enter the PD data associated with it.
- If you're adding PD data to an existing Accomplishment, double-click the entry to edit it. Or, if you are on a mobile device, click the existing accomplishment once and then click Edit from the top bar on the page to open the Edit window.
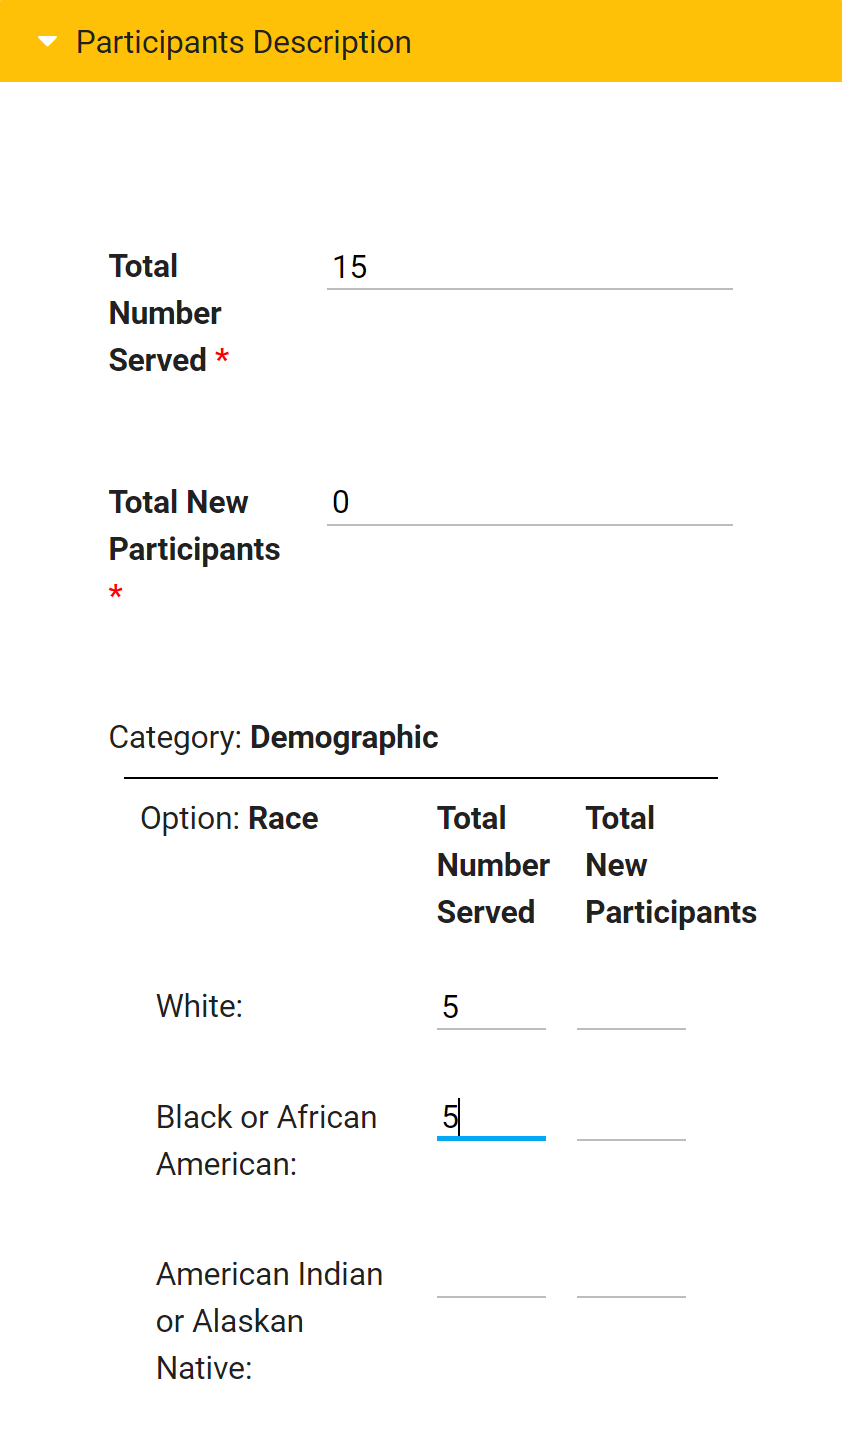
- Enter the Total Number Served and Total New Participants. If there are no established categories (Demographic, Geographic, etc.), skip to step 4.
- If Categories are included, enter the data for each category. Be sure the totals from each Category are equal to the Total Number Served and Total New Participants. If they do not add up, you will receive an error when you try to save the entry.
- Click Save on the PD entry.
- Click Save and Close on the Accomplishment.
View Participants Description (PD) Data
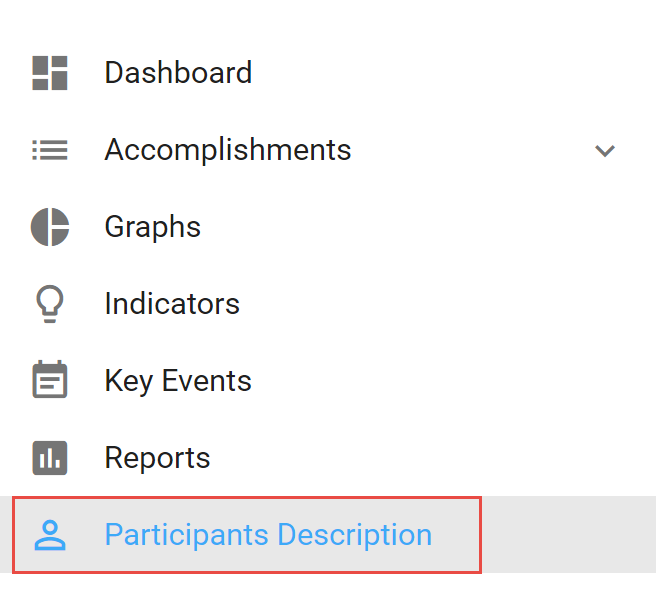
- Click Participants Description section in the left navigation bar.
- Since some CCBs have more than one form, select the Form Name under the Filter Participants Description heading.
- Click Filter Accomplishments and select the Date Range and other fields that you want to filter by.
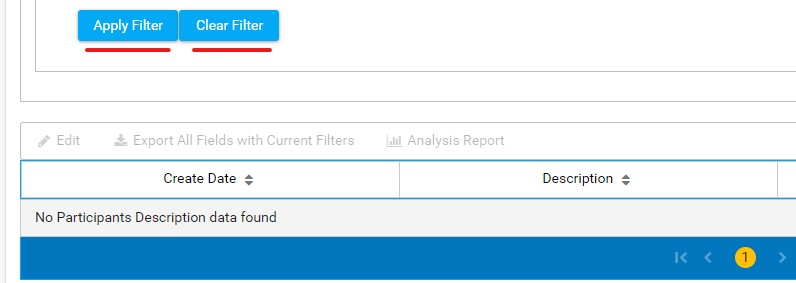
- NOTE: Filters you apply will be saved if you double-click to open an Accomplishment or go to another CCB section and then return to the Participants Description section. To remove established filters select Clear Filters first, then Apply Filters, which will reload all Participants Description data.
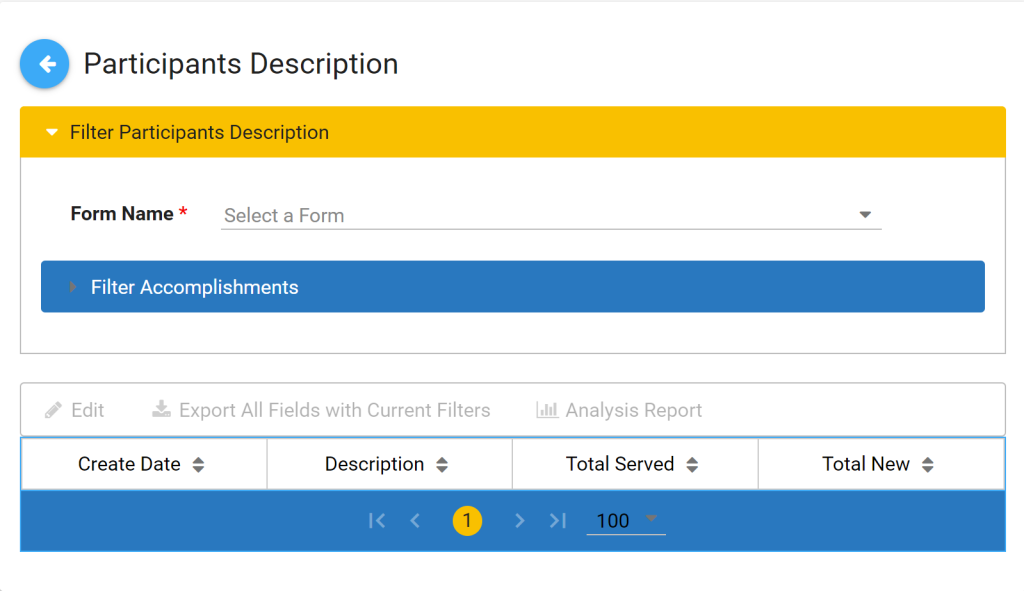
- Click Apply Filter. The Filter Accomplishments window will close, and your filtered data will display. The Date, Description, Total Served, and Total New columns are the default columns for this section and cannot be changed.
- Double-click an entry to open the Accomplishment directly, or, if you are on a mobile device, click the PD entry once and then click Edit from the top bar on the page. You can view the Participants Description data in the upper right of the accomplishment where you initially entered it.
- Click Export All Fields with Current Filters if you want to export all the data you selected as a .csv (Excel) file.
Clear All Filters for Participants Description (PD) Data
- Click Clear Filter first, then ...
- Click Apply Filter. This will display all data without any filters.
Create and Export a Participant Description Analysis Report
- Follow steps 1-4 in the View Participants Description (PD) Data section above to create or apply any desired filters, such as Date Range, etc.
- Click Analysis Report if you want to generate the Participants Description Analysis Report as a formatted PDF. The report data will display in a pop-up "preview" window with its own scroll bar.
- Click Generate PDF if you want to download a full PDF version of the report you are viewing.
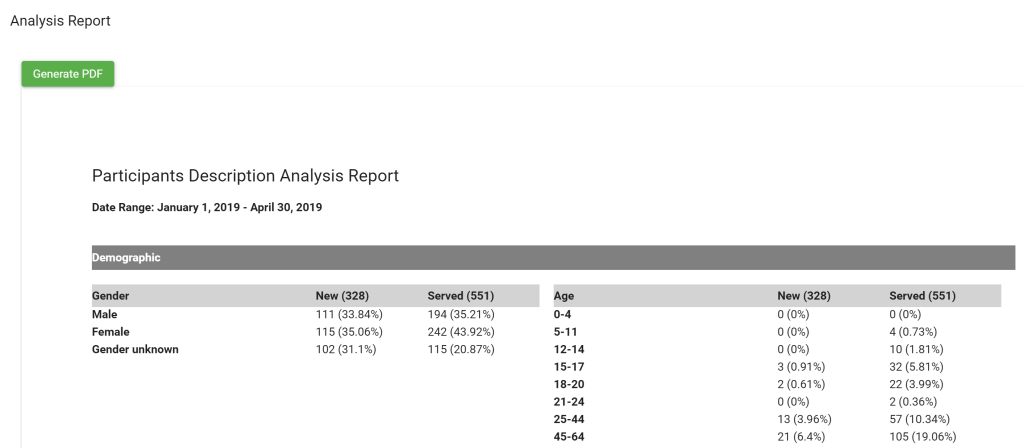
- You can convert the exported Participant Description Analysis Report (pdf) to an editable Excel document, using Adobe Acrobat Pro.
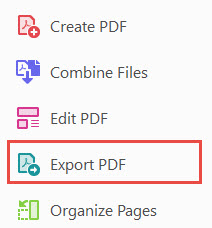
- Open Adobe Acrobat Pro, then open your downloaded analysis report (pdf) in the program. In the right column tool bar, select Export PDF.
- Select Spreadsheet on the left side options, and leave the default to Microsoft Excel Workbook.
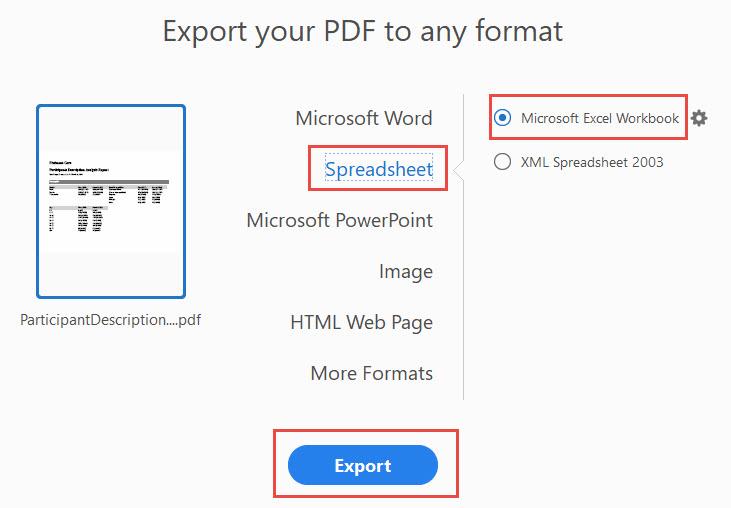
- Export your editable Excel file.

